Testing & Commissioning Procedures
Testing and commissioning procedures are crucial in ensuring the reliability and safety of industrial control panels. This process is mandated by various industry standards and is a pivotal step in validating that every electrical connection, protective device, and control function is optimized before deployment. Adhering to standards such as UL 508A and IEC 61439 ensures compliance with safety regulations and optimal performance. Control panels tested against these standards boast enhanced operational reliability, having undergone rigorous quality assurance processes that detect and rectify any potential issues. The procedure begins with de-energized inspections, which involve physical checks of wiring and component placements against design schematics. Continuity tests are performed to verify the integrity of electrical connections, ensuring that each circuit path is complete and correctly terminated. This phase is critical for identifying wiring errors that could cause operational failures or safety hazards. Standards like NFPA 79 provide guidelines for electrical standard compliance, reducing the risk of undetected issues that could lead to production downtime or equipment failure. Following de-energized checks, insulation resistance testing is conducted on the panel's circuitry. This test measures the resistance between electrical conductors and exposed metallic surfaces and detects potential insulation failures. Conducting this test per IEC 61439 ensures that the panel can safely operate at its rated voltage without risk of insulation breakdown, which could otherwise result in shorts or electrical hazards. Insulation resistance testing, along with documented results, builds a traceable record that satisfies both regulatory inspections and customer quality acceptance criteria. Once the integrity of the circuits is confirmed, powered functional verification takes place. During this phase, the panel is energized, and various control functions are tested for performance accuracy against the design specifications. This verification process is vital for detecting component defects or design oversights that could compromise control effectiveness or process efficiency. Utilizing programmable logic controllers (PLCs) as per IEC 61131-3 ensures that control logics perform as intended, potentially leveraging simulation tools to pre-emptively identify logic errors. Full-load operational testing simulates actual working conditions to assess the panel's performance under stress. This testing phase examines the panel's ability to handle its specified load capacities, verifying thermal performance and component robustness. Thorough testing under these conditions significantly reduces the likelihood of encountering startup issues once installed onsite. Comprehensive documentation of all test results not only aids compliance with UL 508A but also serves as a confidence booster for end users. With detailed proof of functionality and safety, system integrators and panel builders can assure customers of the product's readiness and reliability, ultimately leading to efficient commissioning and smooth operation post-installation.
Tools Required
- Digital multimeter (True-RMS, CAT III rated)
- Megohmmeter (insulation resistance tester, 500V/1000V)
- Clamp-on ammeter
- Phase rotation meter
- Calibrated torque screwdriver
- Function generator (for analog I/O testing)
- Laptop with PLC programming software
- Thermal imaging camera
Applicable Standards
- UL 508A - Industrial Control Panels
- IEC 61439-1 - Low-voltage switchgear assemblies - General rules
- NFPA 79 - Electrical Standard for Industrial Machinery
- IEC 60204-1 - Safety of machinery - Electrical equipment
Procedure Steps
Perform Visual and Mechanical Inspection
Conduct a thorough visual inspection of the completed panel before any electrical testing begins. Check that all components are correctly installed per the bill of materials, all wire labels are present and legible, wire duct covers are in place, and all mounting hardware is secure. Verify that appropriate finger-safe covers are installed on all energized terminal points and that the panel nameplate with SCCR, voltage, and enclosure ratings is properly affixed.
Verify Grounding and Bonding Continuity
Using a low-resistance ohmmeter or the continuity function of a digital multimeter, verify that all equipment grounding connections provide a continuous, low-impedance path from every exposed metal surface back to the main ground bus. Test the bonding between the enclosure, backplane, door, DIN rails (if used as supplemental ground), and each individual component ground terminal. The resistance of each grounding path should be less than 0.1 ohms.
Conduct Point-to-Point Wiring Verification
Perform a comprehensive point-to-point (P2P) wiring check by systematically verifying each wire connection against the electrical schematic. Using a multimeter in continuity mode, confirm that each wire is connected between the correct terminals at both ends and that no unintended connections (shorts) exist between adjacent terminals or between any circuit conductor and ground.
Perform Insulation Resistance Testing
Test the insulation resistance between all power conductors and ground, and between different voltage level circuits, using a megohmmeter set to the appropriate test voltage (500V DC for circuits rated up to 500V, 1000V DC for higher-rated circuits). Each tested circuit should read a minimum of 1 megohm; new wiring in clean conditions should typically read well above 100 megohms. Record all readings for the test documentation package.
Initial Power-Up and Voltage Verification
With all branch circuit breakers and motor starters in the OFF position, apply power to the main disconnect or incoming line terminals only. Measure and verify the incoming voltage at the main terminals, confirming it is within the acceptable range (typically +/-10% of nominal). Check phase rotation using a phase rotation meter to verify correct phase sequence (L1-L2-L3) before energizing any three-phase loads. Progressively energize each branch circuit one at a time, measuring voltage at each load terminal.
Test Protective Device Operation
Verify the correct operation of every protective device in the panel including circuit breakers (manually trip and reset each one), fuses (verify correct rating), motor overload relays (verify trip class and current settings match the motor nameplate), ground fault protection, and surge protective devices. For safety circuits, test every E-stop, safety interlock, light curtain, and safety relay to confirm they de-energize the correct loads and require the proper reset sequence.
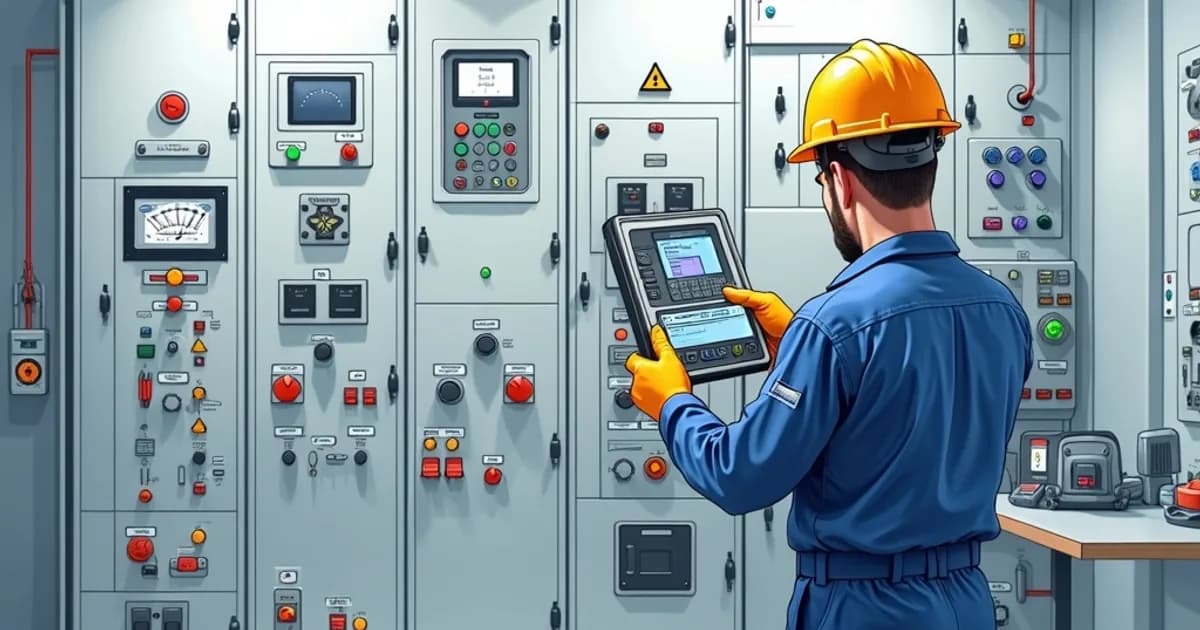
Verify I/O and Control Logic Functionality
With the PLC and control system powered up, perform a complete I/O check by individually activating each input device and verifying the correct state change at the PLC input module. Then, force each PLC output individually (with loads disconnected or in manual mode) to verify that the correct field device activates. Run through the control program sequence to verify all logic, timers, interlocks, and alarm functions operate as designed per the functional specification.
Perform Thermal Verification and Load Testing
After all functional tests pass, run the panel under expected operating loads for a minimum of 2 hours and monitor the temperature of critical components using a thermal imaging camera. Verify that no component exceeds its rated operating temperature and that the enclosure internal ambient temperature remains within the panel's designed thermal envelope. Check for hot spots at all power connections, which indicate high-resistance joints that need retorquing.
Related Procedures
Wiring Standards & Best Practices
Apply professional wiring techniques that ensure reliable connections, meet code requirements, and simplify troubleshooting in industrial control panels.
PLC Programming & Initial Setup
Configure PLC hardware, establish communication networks, develop structured control programs, and perform initial checkout for reliable industrial automation systems.
Grounding & EMC Shielding Techniques
Implement proper grounding systems and electromagnetic compatibility shielding to ensure safety, signal integrity, and regulatory compliance in control panels.
Related Categories
Need a Custom Control Panel Solution?
Our engineering team designs and builds industrial control panels to your exact specifications. Get a free quote today.
Frequently Asked Questions
References & Citations
International Electrotechnical Commission (IEC)
National Fire Protection Association (NFPA)
trccompanies.com
ecmag.com
isa.org
energy.gov
commissioningandstartup.com
processsolutions.com
assets.new.siemens.com
spp.org
forums.mikeholt.com